It’s both verb and adjective in describing the load on the KLR’s panniers, something I’m certain that will be continually sorted out along the way. For starters though, here’s a quick go-around that sustains both the bike and myself on my UtADV commute.
Left Pannier

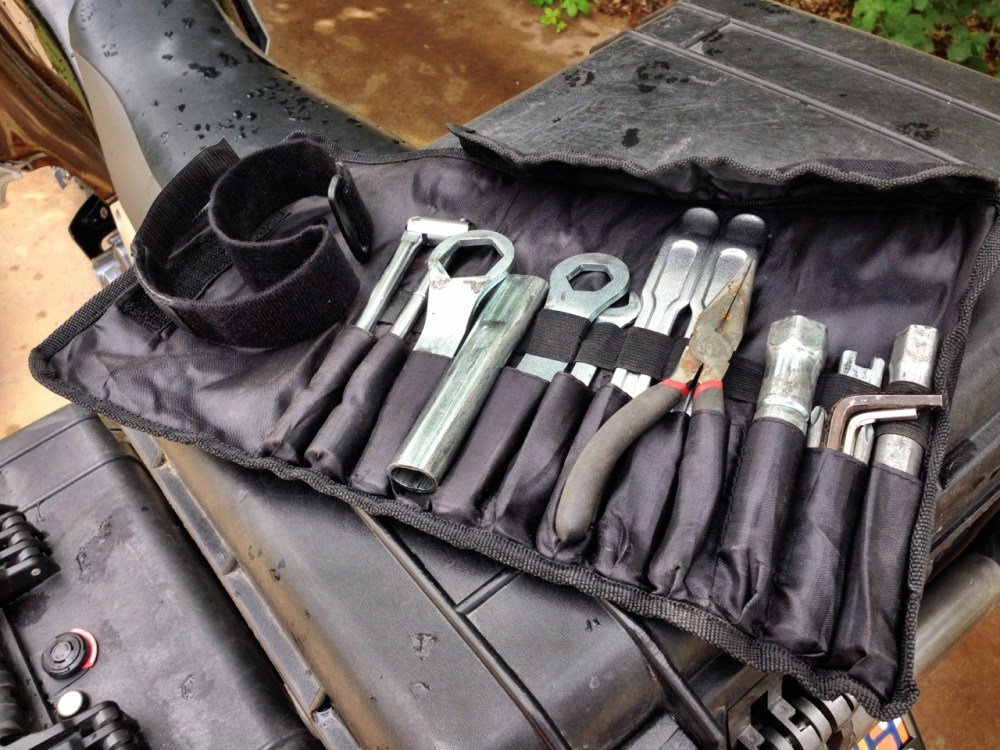
Two items here: the tool roll and the bug-out-bag (BOB) pack. The roll is borrowed from a Coleman camp utensil kit that is bound by a hook/loop adjustable strap I cannibalized from a post-surgical arm brace.
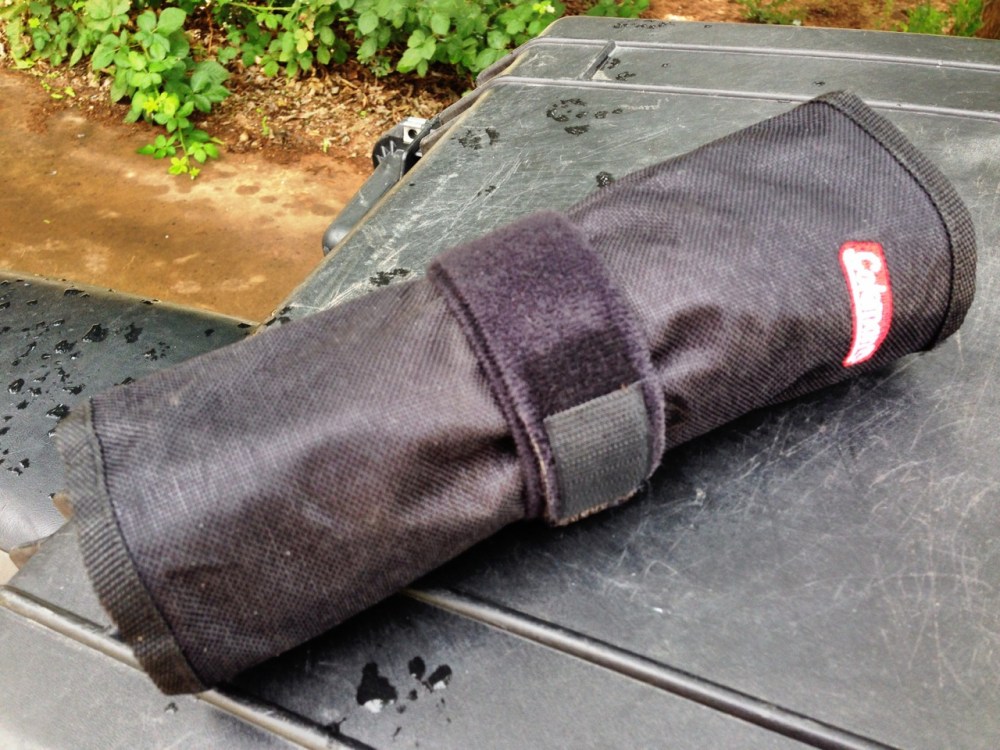
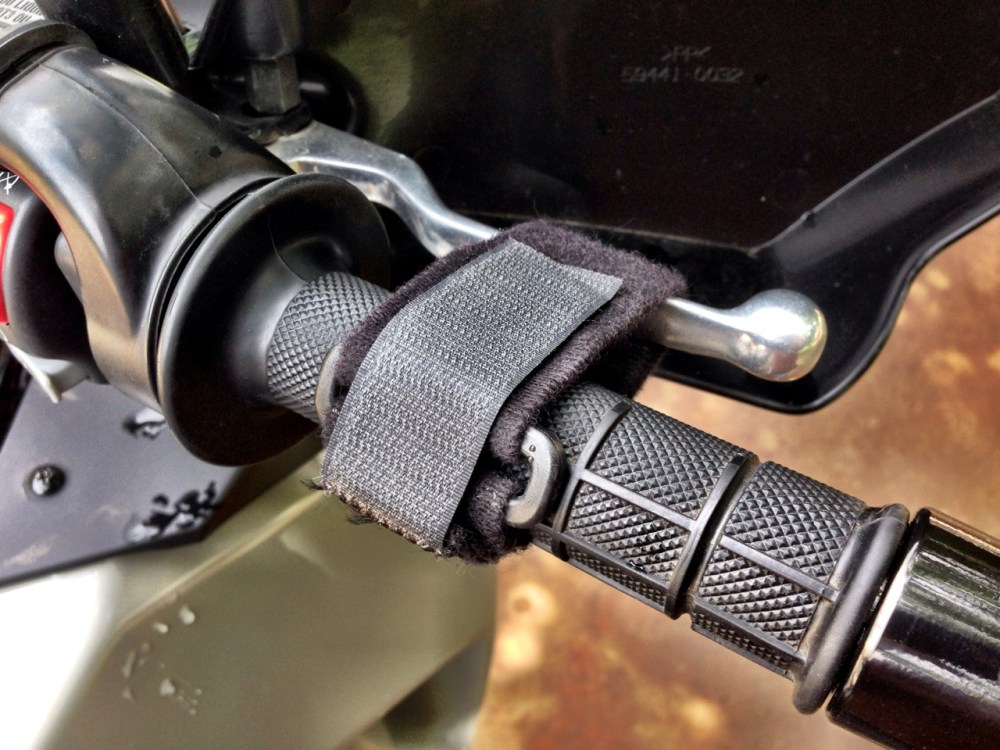
The trick to packing for any adventure is finding things that provide multiple uses. For me, to add to the challenge I like to source stuff from existing unused stuff. It’s a bonus when both these criteria can be reached. So, besides the strap’s binding around the tool roll, it’s also a parking brake for the KLR when I need it stabilized.
The tool roll is a mix of factory kit and additions. There’s still a number of tools, tape, and chemicals to be added to a second kit, but for now this is what’s in the roll.
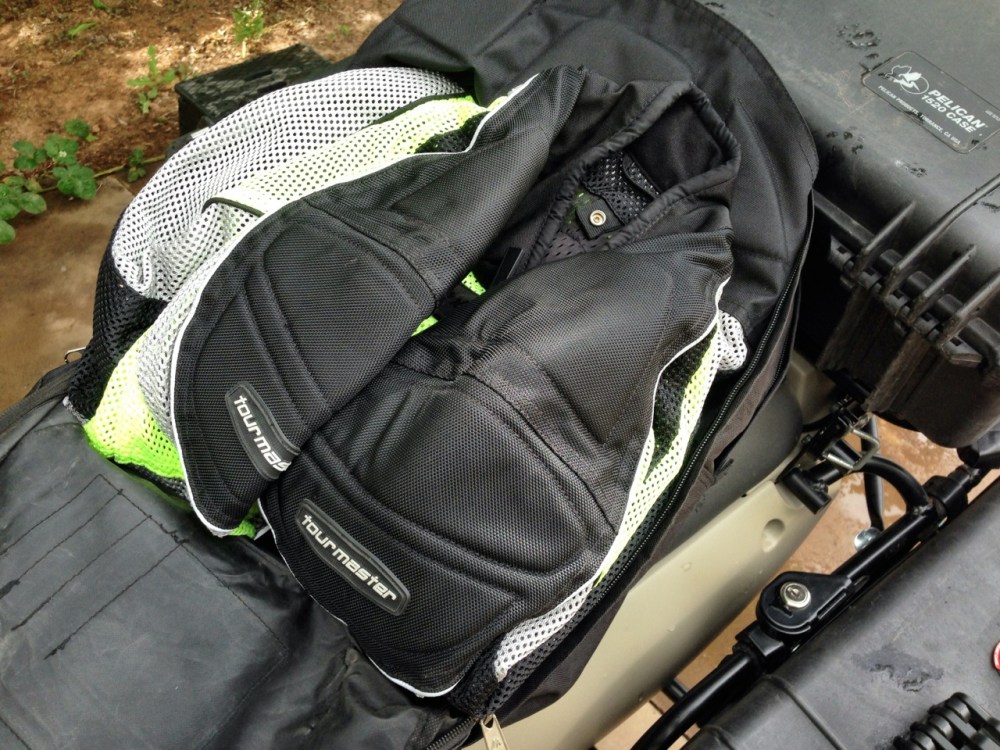
The BOB is a pack that serves the purpose of storage when the bike moves under its own power and porting when it isn’t. Packed away in the pannier it keeps a TourMaster Intake Series II high-vis summer jacket.
Another compartment holds an MSR dromedary bag and water filter, a bivouac, and seasonal gloves and handwarmers.

The top segmented compartments contain a secondary water filtration system, an Anker solar array along with a Sunjack charger and rechargeable batteries.

Right Pannier
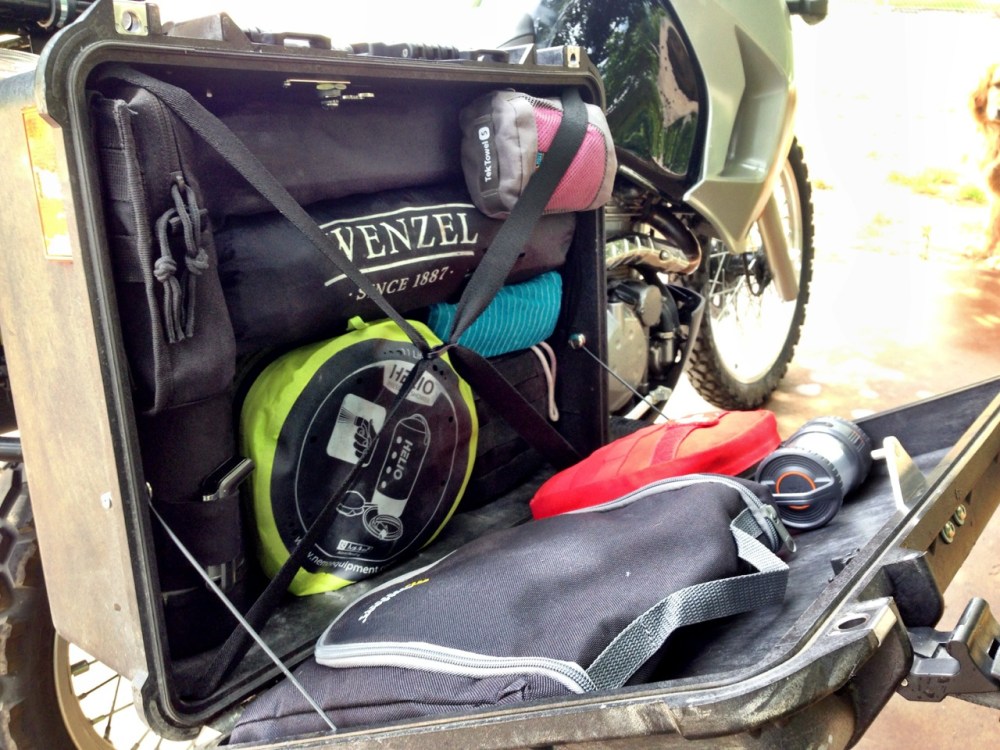
This is the camp-side of the system and contains a JetBoil, a Helio Pressure sprayer and tank, a survival kit, a one-person tent, a small aluminum table, a Sea-to-Summit Tek Towel, a mess kit with provisions, a first aid kit and a trauma bag. There’s other gear stowed throughout the system that handles takes care of lighting and cutting things.
Given the types of trails I’ll be on and the camp sites I want to reach, transporting water will be a necessity.

To this end I’ve rigged a four liter MSR dromedary bag to be fitted to the top of the Pelican top case. This uses two stainless NiteIze S-clips to attrach the bag strap to two holes drilled into the outer fins of the case hinges.
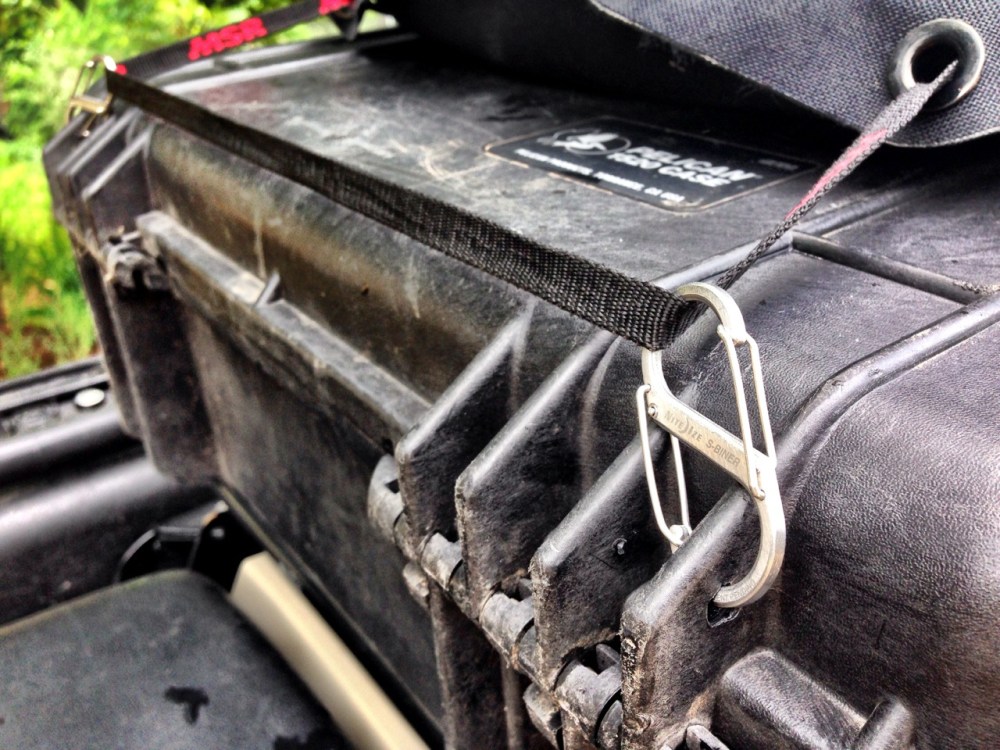
The strap on the opposite side wraps around the Pelican case handle securing it in place. This allows for a quick access to the Pelican’s contents.

Transitioning on and off the bike is enough to make any rider stay on a little bit longer or ride past that vista without taking a shot. Jacket, earplugs or phones, brain bucket, glasses, gloves – then stow it away anytime you step away from your ride.
I thought I’d add a couple of details to make transitions a bit easier and handy.
I added a strap system on the RH Pelican pannier to secure my camera bag and yet keep my device at the ready for a stop and shoot. Four black nylon Footmans loops were added to the top of the case through which are two one-inch straps sized to the circumference of the camera bag. The straps have quick release buckles and a couple of web dominators to mind the slack when they’re not in use.

The camera bag (seen here inside a dry bag) lashes to the top of the case for a quick and secure mount, while having the camera easily accessible without having to dismount.

One more simple detail is the relocation of the helmet lock. Putting it on the Pelican top case to the side makes it easier to use, securing my helmet and jacket.

